Capturing entities
Entities are the building blocks of your investigation: people, accounts, places, phone numbers, documents, media and more. In the editor you capture and maintain them in a structured way – with type, status, hierarchy, sources, media and links.
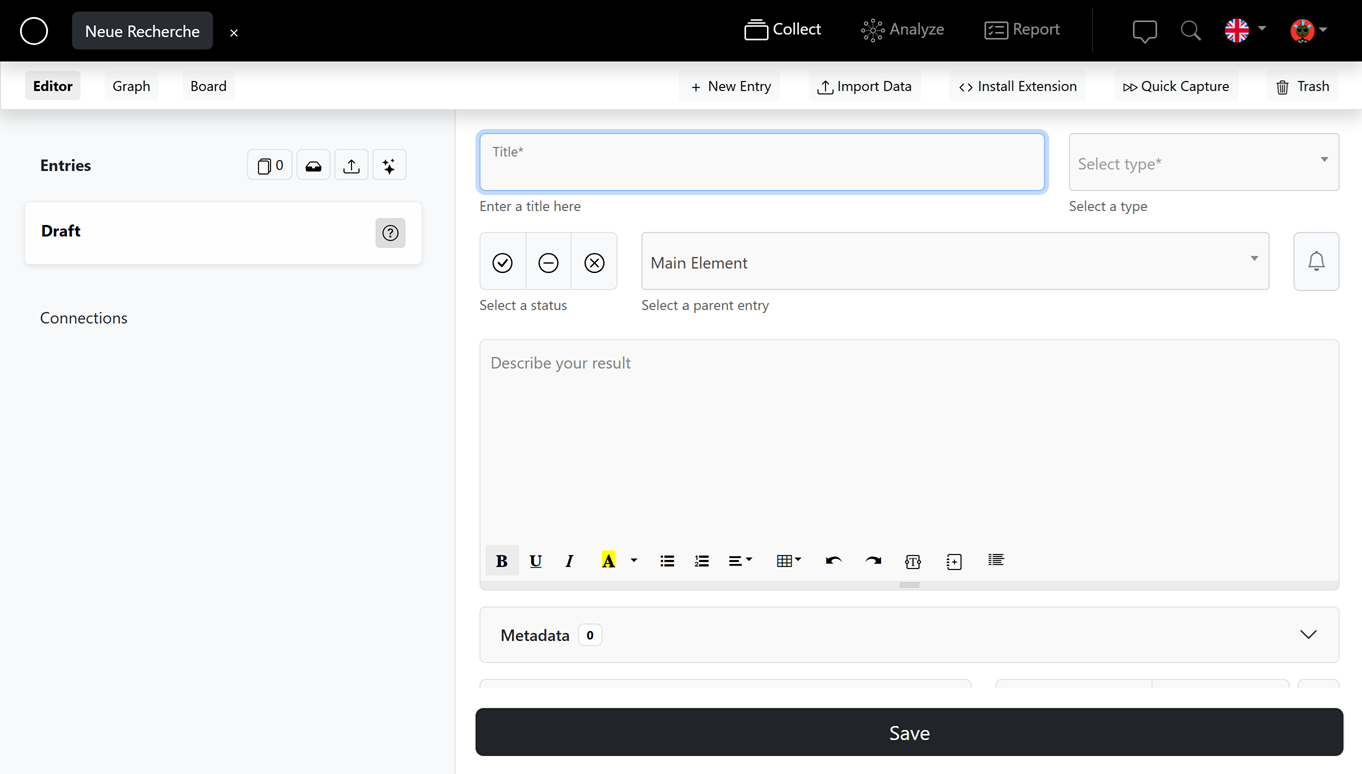
Create a new entity
In the editor, click "+ New entity". Before saving, set the key details:
- a suitable title (e.g. name, username or identifier),
- the matching entity type (person, email, mobile number, etc.) – it determines which fields are available,
- whether the entity should be subordinate to another,
- a concise result text, the source of the information and a timestamp for when you accessed the source.
Using the bell icon you can also set an individual reminder interval – e.g. a re-check after 14 days.
Entity types & fields
Depending on the type, the editor shows matching, type-specific fields. Examples:
- Person – name and characteristics, often used as the parent entity for related accounts.
- Social-media account (e.g. Facebook, X, Instagram) – including user ID and username.
- Place – address or coordinates for the map view.
- Email, phone/mobile number, document, media and many more.
Set a status
The status selector marks how reliable an entity is – for example confirmed, open/unclear or unconfirmed. Open or unconfirmed entities are marked accordingly in the list and in the graph.
Parent entity
Via "Select a parent entity" you place one entity under another – e.g. several accounts under a person. This creates a clear hierarchy that is also reflected in the graph.
Document your findings
For each entity you record dated findings – with formattable text. This keeps it traceable what was established and when.
Text modules
In the editor you create custom text modules to use flexibly across the phases of your investigation. Save frequently used wording or standardised notes in a few clicks via "Save text as template" and reinsert them when needed via "Insert text modules" – saving time and ensuring consistency.
Log entries
For each entity you can document the current status or any changes via "Add log entry". Especially for regularly reviewed entities, this builds a complete history that keeps the course of the investigation transparent.
Adding media
For each entity you upload a wide range of files in the Media section – photos, videos, screenshots, PDFs, audio and data files – and maintain a description, source and timestamp per file. Reorder them by drag & drop.
Tip: For an entity of type "Person", the first item is always used as the image in the graph (highlighted with a green border in the editor).
See the Media & posts chapter for details.
Create your own graphics
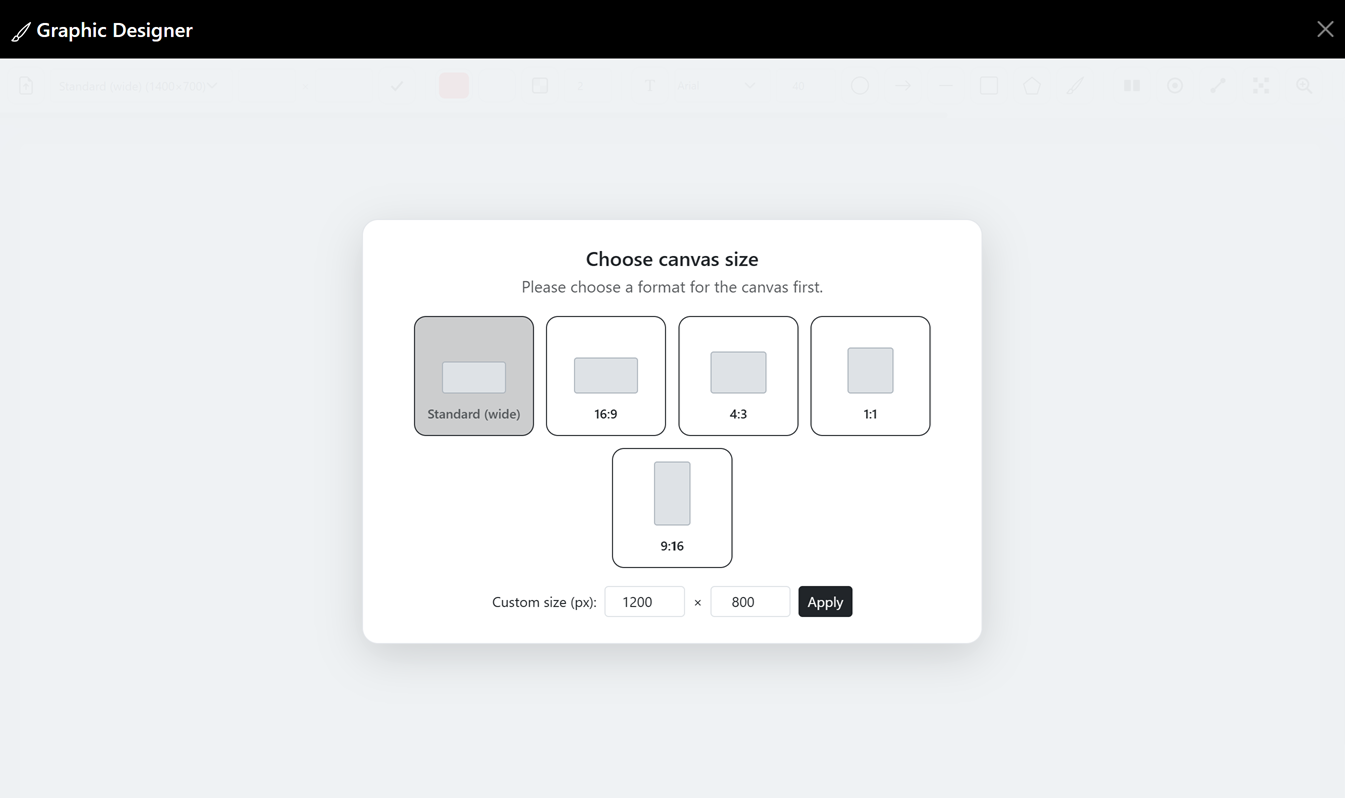
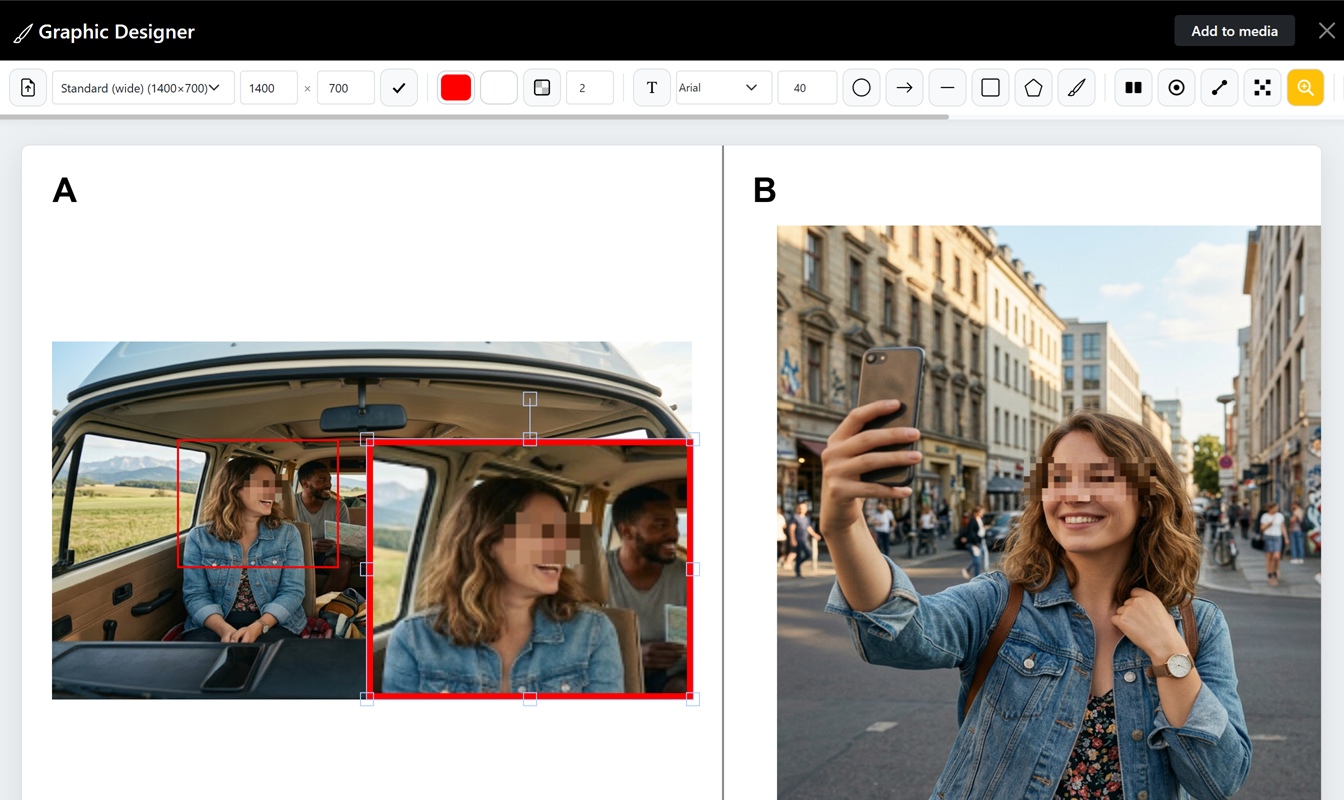
Via the "Create graphic" menu item you design custom graphics and embed them directly into your investigation to visualise relationships clearly. Saved graphics can be edited again at any time.
Internal – notes & workflows
Under "Internal" you store notes that do not appear in the official report. You can also define entity-specific work steps (workflows) – so you plan and track progress in a structured way.
Incoming and outgoing links
Every entity can be systematically linked to others. You get an overview of all existing relationships, can create new links and open existing ones with a click to view or adjust details.
Time and location
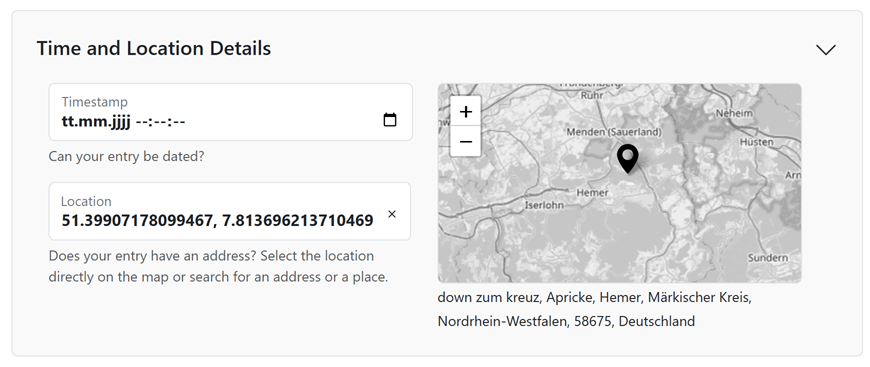
For each entity you can capture a specific location and point in time. These are later visualised in the analysis area – for example on a map or in a timeline.
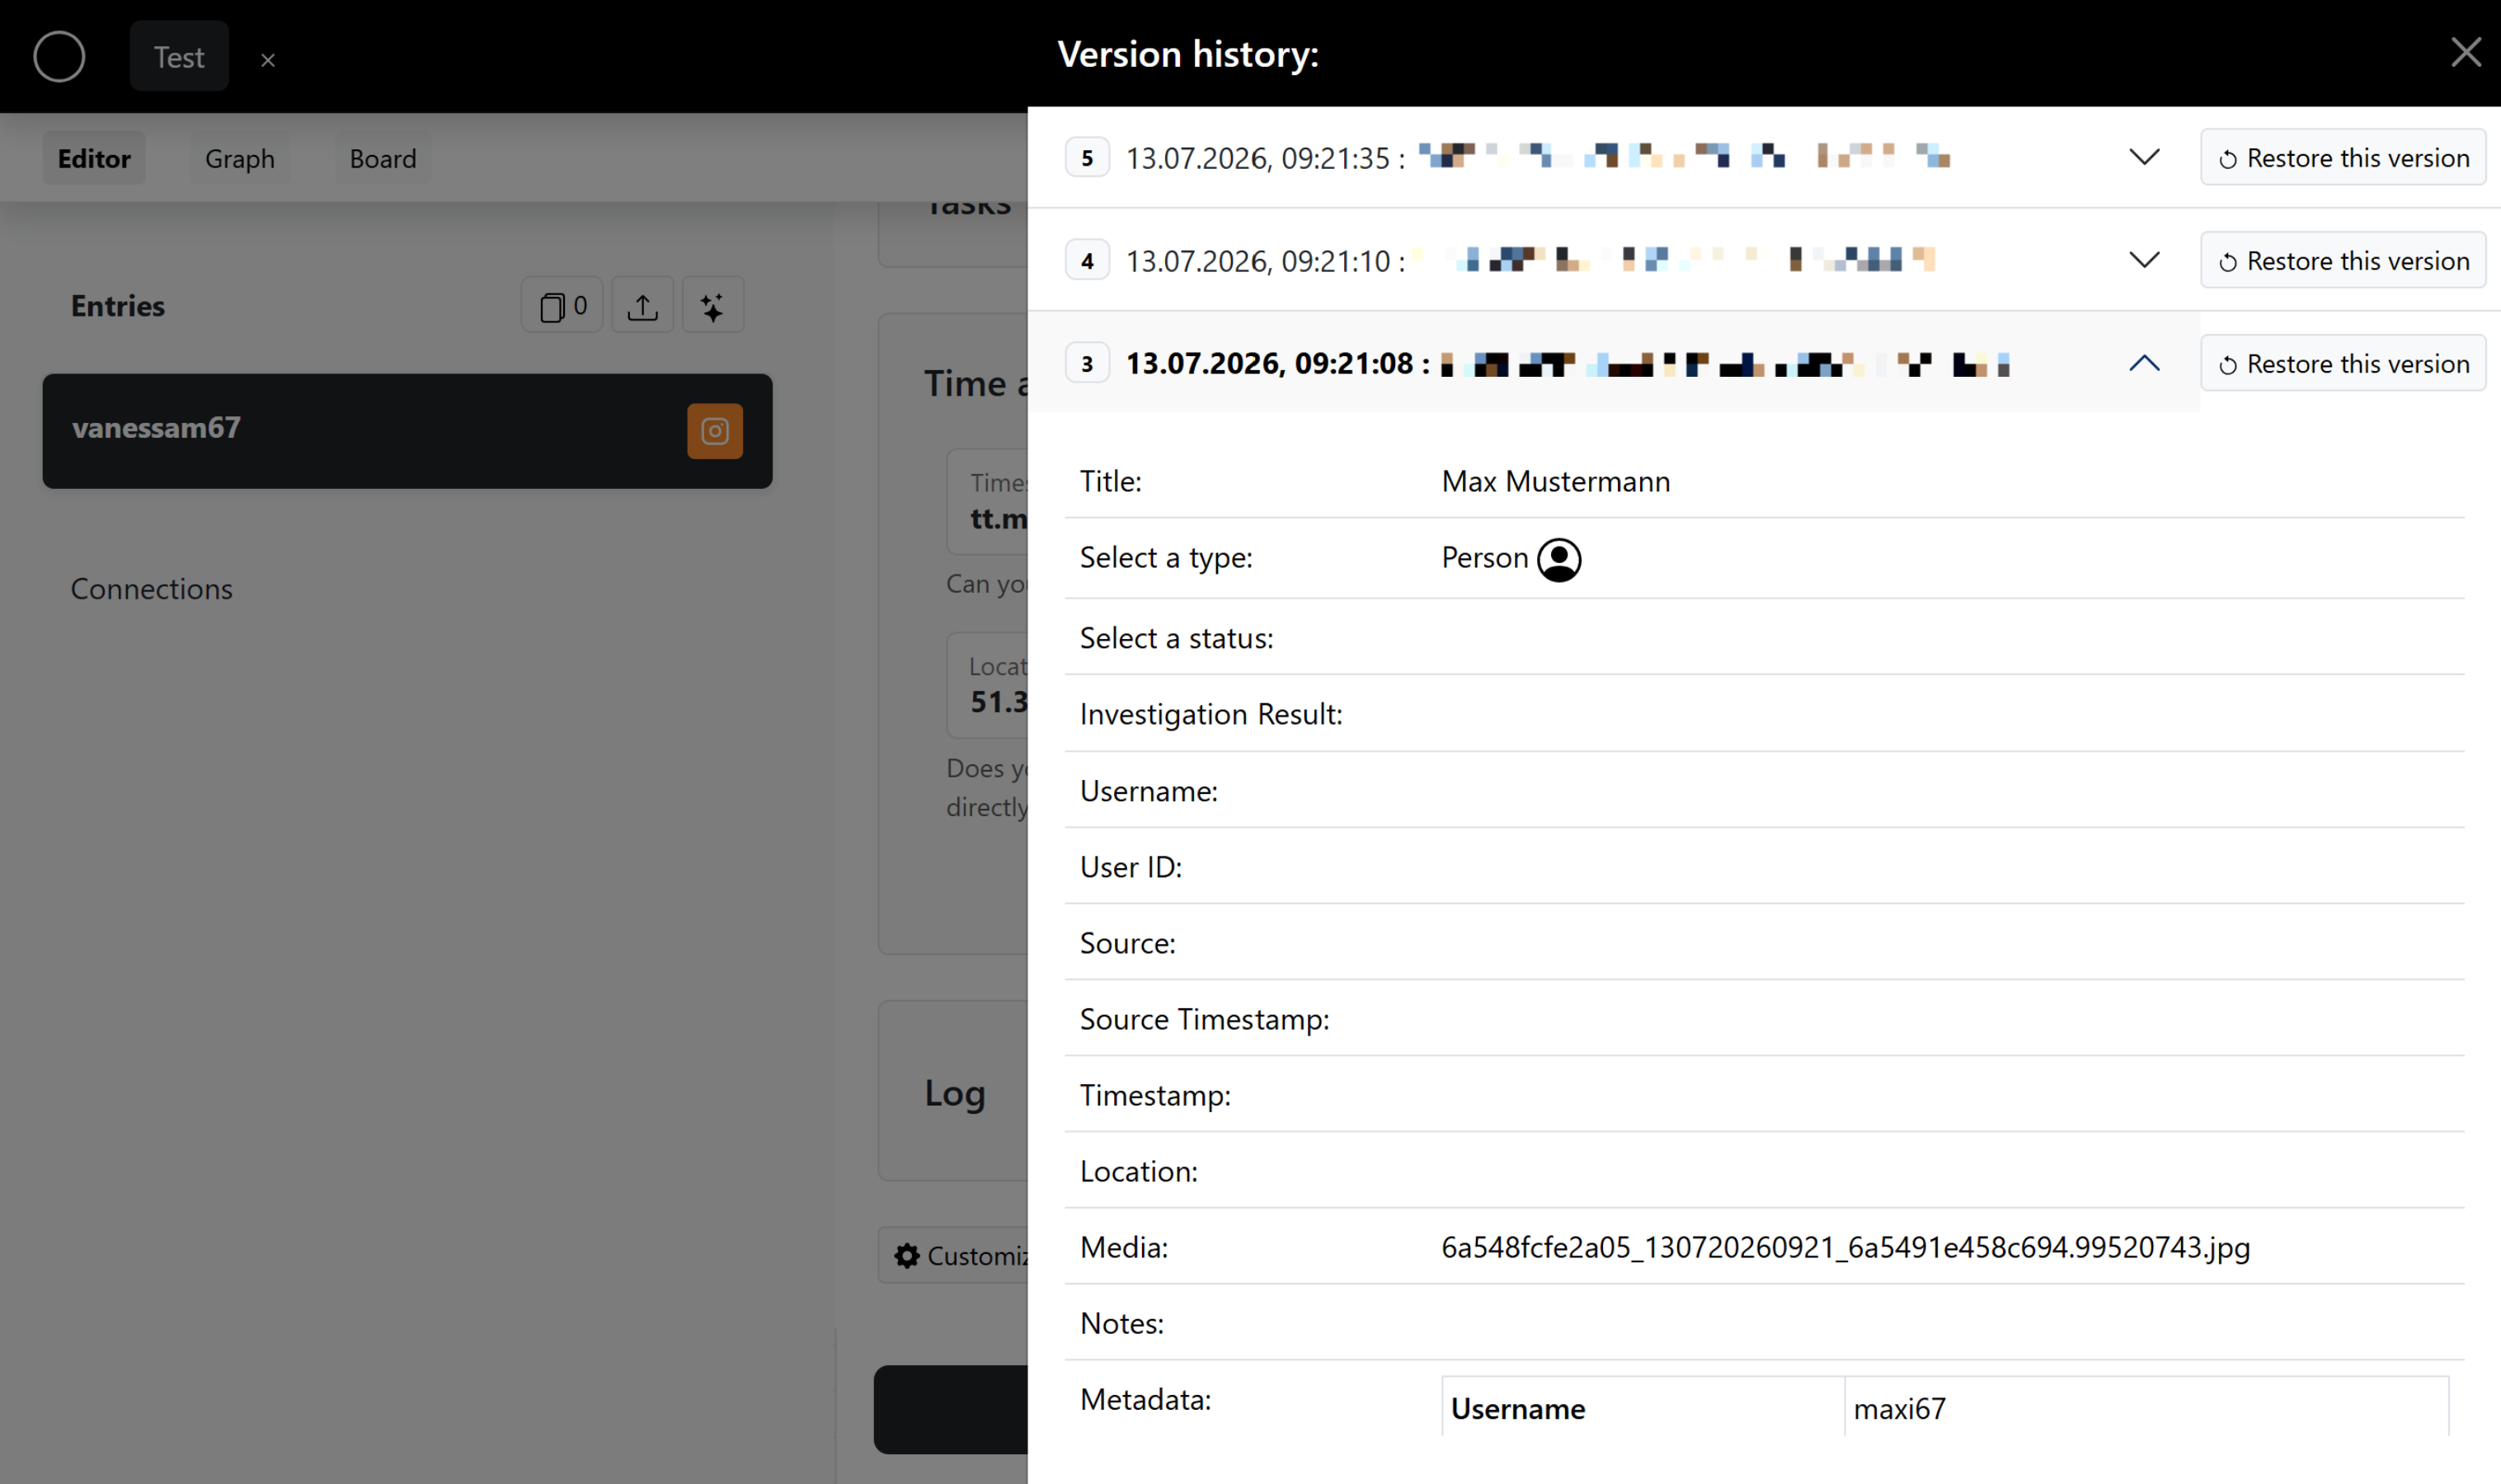
Log – version history
For each entity you can see how often it has been edited. A click on the version history shows a detailed overview of all changes.
Saving & the entity list
Click "Save" to commit the entity. It appears in the list on the left – with a type icon and status. From there, a click takes you back into editing.
Sidebar
The sidebar contains a complete list of all entities and links:
- Arrange entities by drag & drop, or select several at once to assign them to a new parent or delete them together.
- If a set reminder is overdue, a red exclamation mark appears.
- Right-click opens a context menu to link, delete or show/hide in the report.
- You can save the current selection as a template.
Next steps
- Add images, videos & posts → Media & posts
- Links & personas → Personas & links